|
|


TTAX 79637 48' TOFC 5-unit Spine Car
Starting with a Walthers brand pre-decorated 5-unit spine car kit, I added detailed
brake equipment, reworked the end walkways, and upgraded the trailer hitches.
Starting with a Walthers brand pre-decorated 5-unit spine car kit, I added detailed
brake equipment, reworked the end walkways, and upgraded the trailer hitches.
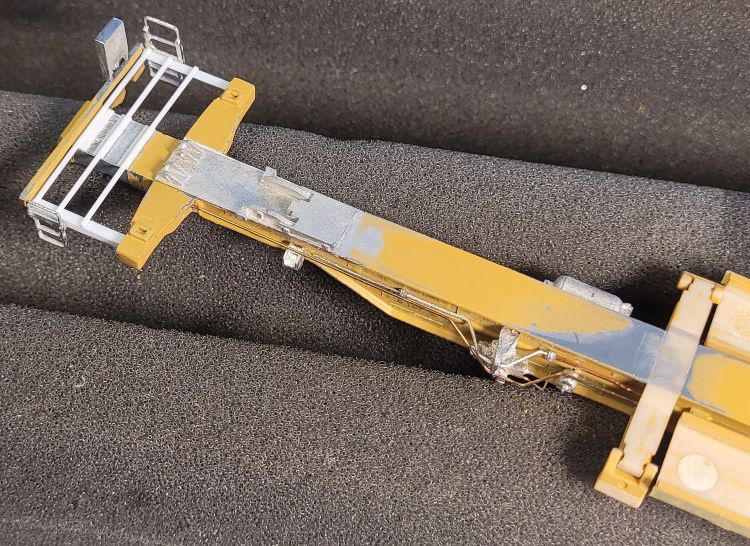
Below: I replaced the Walthers brake parts with Details West SC-1018 cast metal parts. Prototype photos I could find
suggested various different piping arrangements from what the Details West instructions describe. But without a full set
of detailed brake rigging photos for a specific prototype car, I decided to just follow the Details West instructions.
The end ladders and brake gearboxes/wheels also came from the SC-1018 kit.
Below: This Collin Reinhart photo found on RRPictureArchives.net shows the exposed and quite visible brake rigging on the
prototype cars. This end unit also shows the walkways and ladders found at both ends of these 5-unit articulated spine cars.
prototype cars. This end unit also shows the walkways and ladders found at both ends of these 5-unit articulated spine cars.
Below: Here are the primary upgrade products I used, including the Details West SC-1018 brake equipment and piping diagrams.
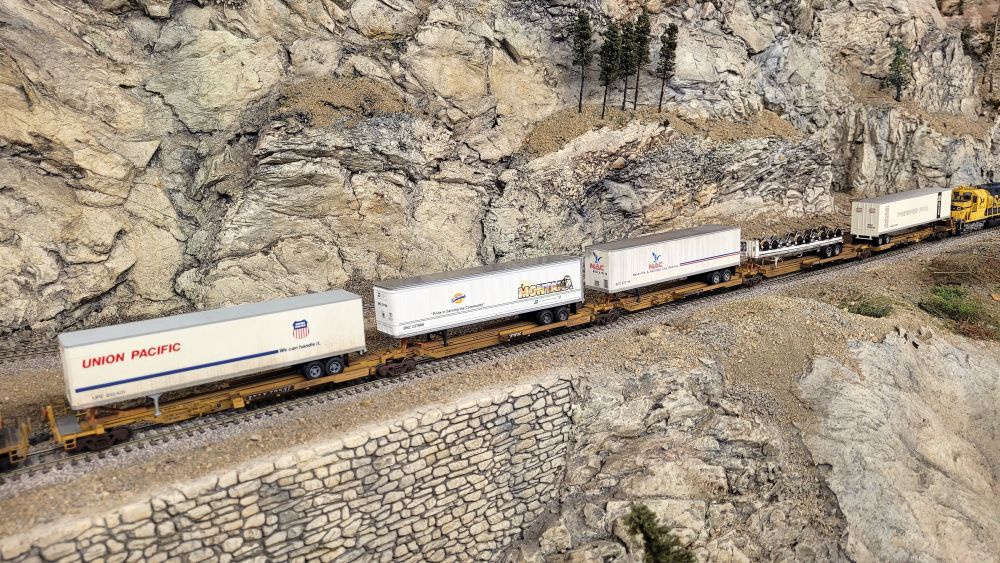
Below: Two views of the model loaded with trailers on my Glen Frazer Free-mo module.
Below: My finished model test-running on the Carquinez Model Railroad Society club layout in Crockett, CA.
This area of the layout depicts Southern Pacific's Donner Pass crossing of the Sierra Nevada mountains.
This area of the layout depicts Southern Pacific's Donner Pass crossing of the Sierra Nevada mountains.
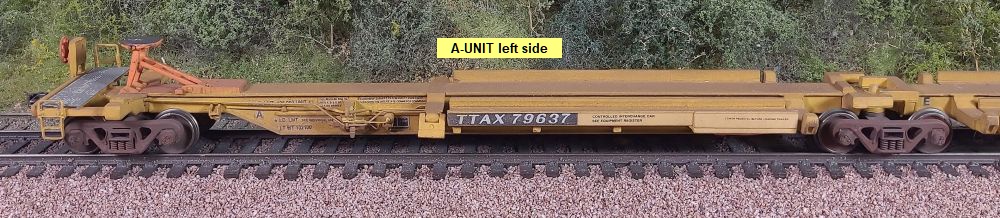
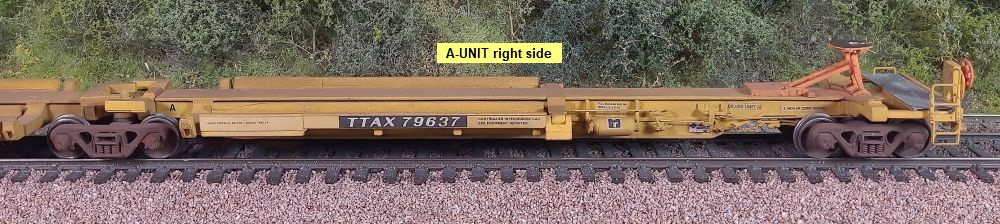
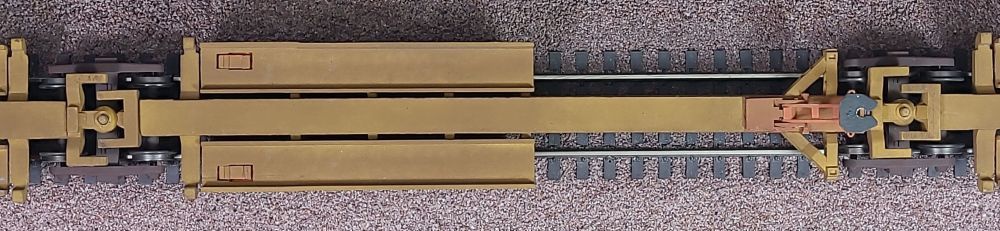
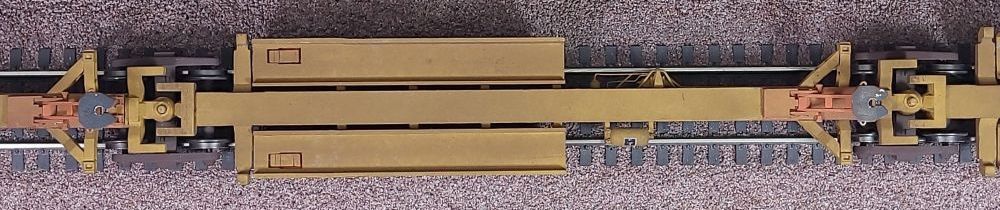
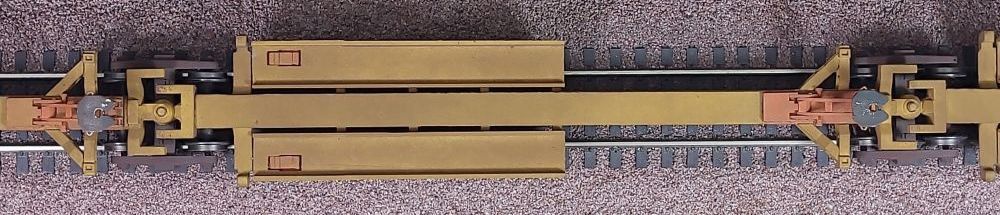
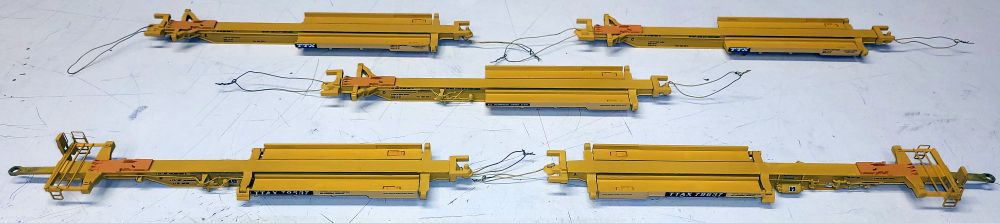
Below: The same view of the "bare table" car, providing a better view of the trailer hitches. This is the B end.
The unit order is "A-E-D-C-B" so that the car has the standard "A" and "B" end designations like all other
railroad rolling stock. Typically, the "B" end of a car designates where the brake wheel is located, but this
car has a brake wheel at both ends so this designation system doesn't have as much meaning in this case.
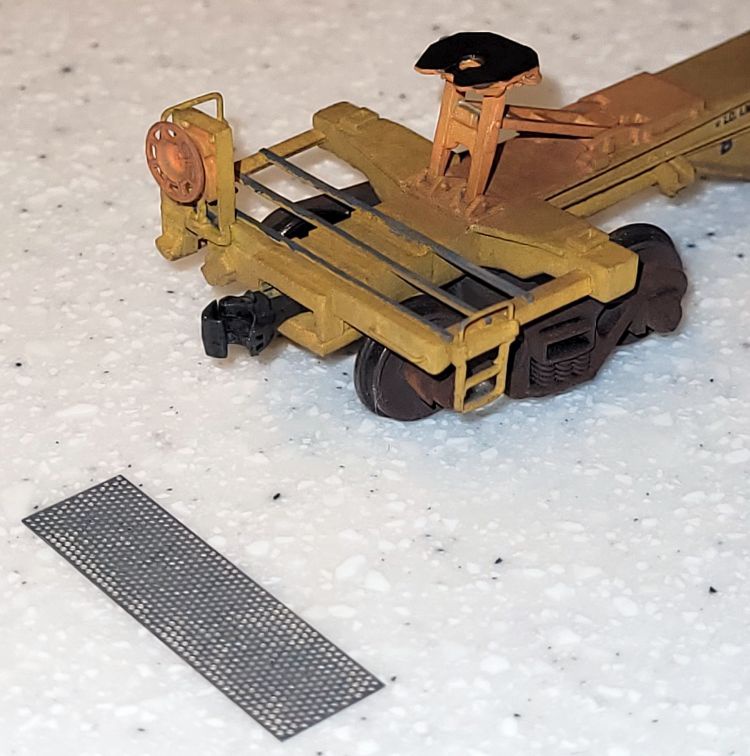
Below: I rebuilt the end walkways with Plano #158 etched metal parts.
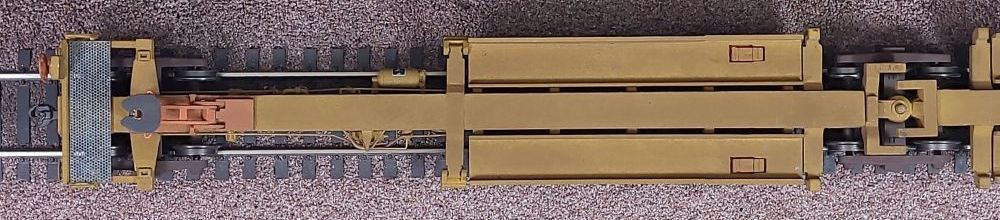
I replaced the trailer hitches with Details West TH-1014 kits.
I replaced the wheels with Intermountain #40052 semi-scale 33" metal wheels, since their tread profile is visible on this car.
Walthers designed the container pedestals to rotate up for use with container loads; however, since
my hitches are fixed and I'll only load trailers on this car, I never intend to raise the container pedestals.
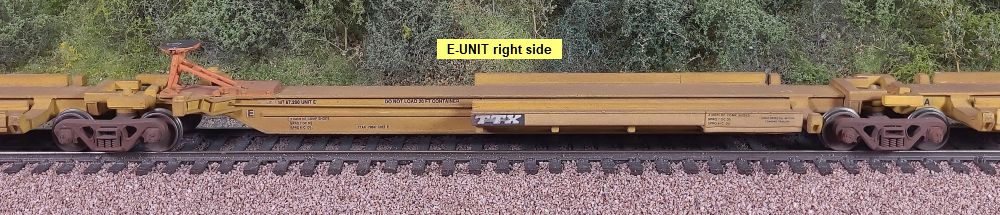
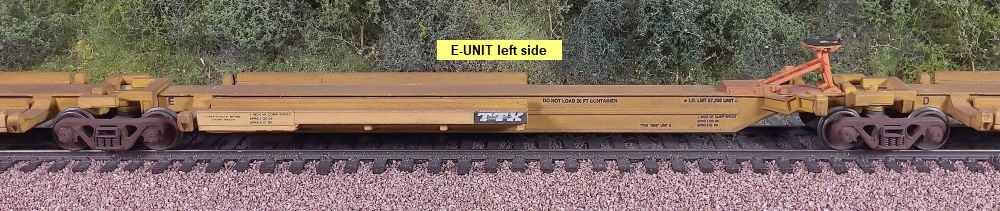
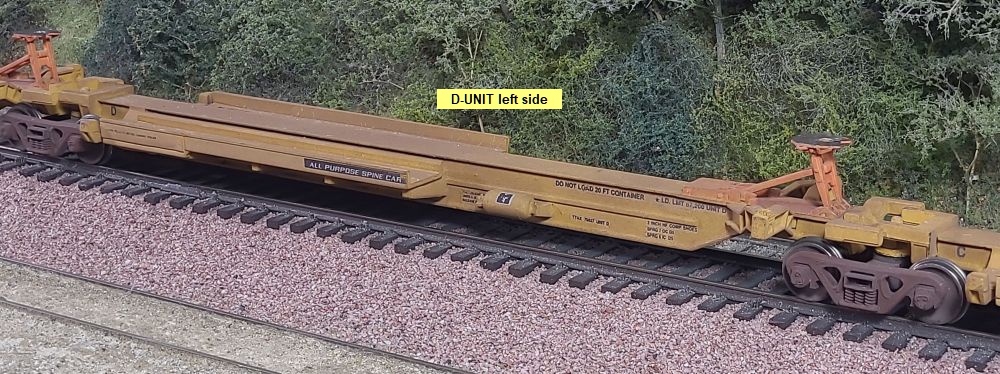
Below: The E unit has no brake equipment, just a train line pipe.
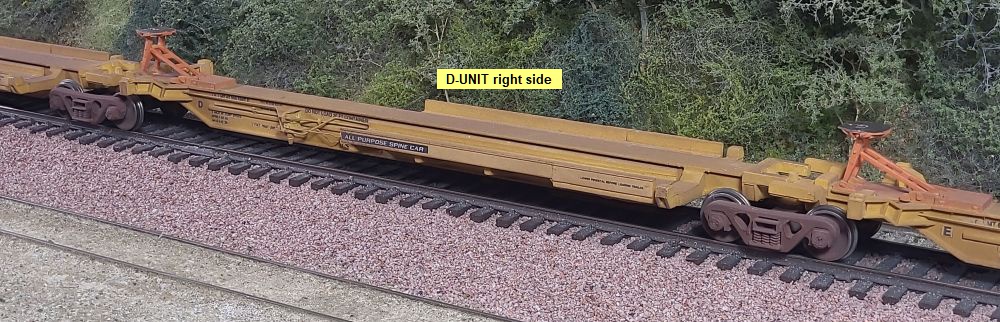
Below: As the center unit, D has a subset of the brake equipment as found on the A and B units.
Below: The C unit has no brake equipment, just a train line pipe.
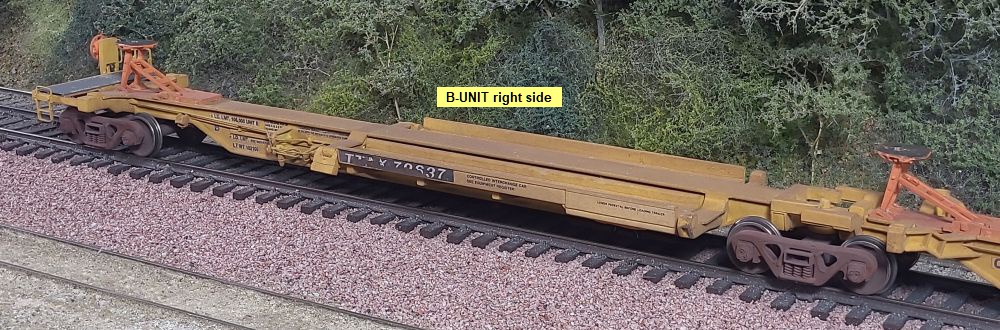
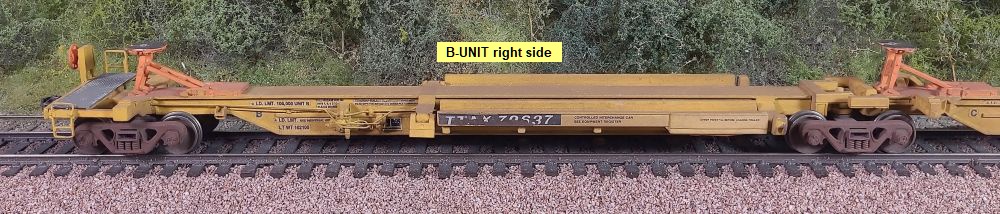
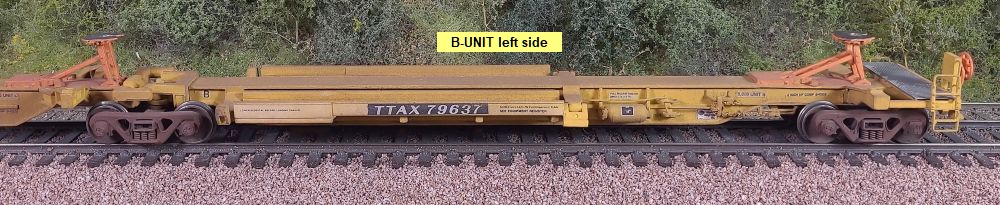
Below: The B unit has complex brake equipment and walkways similar to the A unit.
Below: The Details West SC-1018 text instructions and top diagram. This required careful study to sort out how things go together.
Below: This project was actually started many years ago by my brother, also a skilled model railroader. He smoothed out the
wheel platforms, removed the original end walkways, and installed some of the Details West hitch bases. Thanks, Bro!
After being shelved for several years as other projects took priority, I took up where he left off and finished the project.
Here, the center spine's top surface has been putty-filled and smoothed, wheel platforms glued in place, and container
pedestals installed. The Details West brake parts, piping, chain and rods are in place. Wherever possible, I drilled
holes in the metal spine for gluing in parts and wire piping to add strength.
Also note some of the Walthers lettering has been covered by masking tape.
Ultimately, I covered all the factory lettering to preserve it during the painting process later.
Right, and Above: To reconstruct
the end walkways, I first drilled
holes through the metal end
beams and into the metal bolster.
I threaded styrene rod into these
holes (above) to act as a stable
support.
I then glued styrene L angle over
the rods (below) to become the
visible framing at the corners of
the car. This made a sturdy
support for the walkways and
end ladders.
Right: I then added three styrene
strip cross supports, glued to the
L angles at each side and small
riser blocks on the center spine.
Note also the Details West end
ladders and brake gearbox are
in place.
strip cross supports, glued to the
L angles at each side and small
riser blocks on the center spine.
Note also the Details West end
ladders and brake gearbox are
in place.
Right: After painting yellow and
weathering, I brush painted the
cross supports and metal
walkways a medium gray before
gluing the walkways onto the supports.
The brake wheels received
orange paint brushed on.
weathering, I brush painted the
cross supports and metal
walkways a medium gray before
gluing the walkways onto the supports.
The brake wheels received
orange paint brushed on.
Below: With the Walthers lettering covered by masking tape, I airbrushed the whole set with Polly-S CP Yellow, a close
match to Walthers yellow. I then masked everything but the hitch bases and painted them orange, along with the hitches
themselves as separate parts. I then mated the painted hitches to the painted bases. Here, the masking has been
removed in preparation for weathering, but the hitches have not yet been installed. Note the wire loops tied through the
mating couplings - I used these as "handles" during painting and weathering to avoid touching the car while still wet.
-- About
-- Contact
-- Diesels
-- Links
entire website copyright Gregg Fuhriman
created with CoffeeCup Visual Site Designer
created with CoffeeCup Visual Site Designer
-- Layouts
-- Modules
-- Signalling