|
|
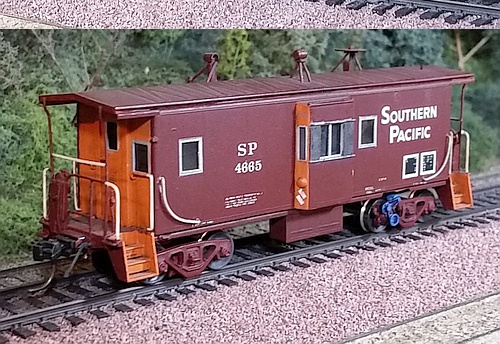


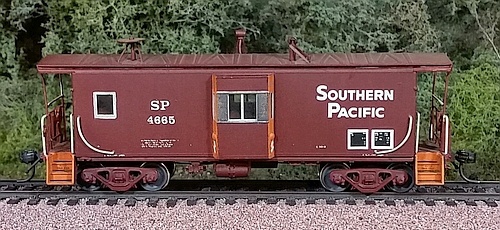


Southern Pacific C-50-8 Caboose 4665
This is a brass caboose I painted, decaled, and weathered many years ago.
It was inspired from many visits to the SP Sparks railyards during my college years in Reno, NV.
More recently, I replaced the brass trucks with power-pickup trucks, installed a basic DCC decoder,
and added a custom-made rooftop safety light with red LEDs controlled through the decoder.
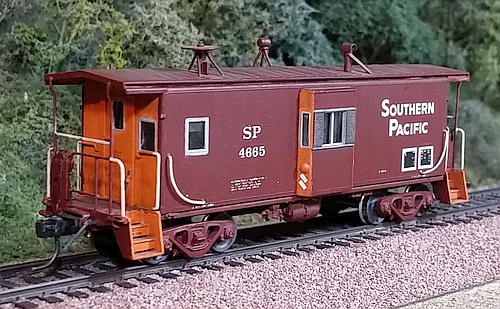
Below: These photos were taken before I installed the working rooftop safety lights.
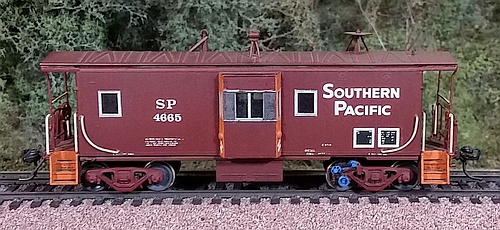
I made this model so long ago I don't recall much about the process. The undecorated brass caboose came fully
assembled, and I believe I just airbrushed the orange areas, masked them off, then airbrushed the brown. The silver
window frames, blue axle generator, and white railings were brush painted. I think I made the window screens from
brass fine-mesh screen and painted them gray. Don't recall whose decals, but most likely Microscale. Weathering
is powdered chalks with Dullcote oversprayed. See more info about SP cabooses on the Espee Railfan.net site.
-- About
-- Contact
-- Diesels
-- Links
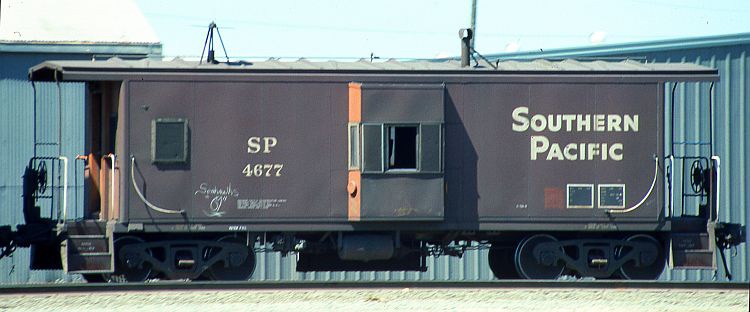
Right: I photographed SP 4677,
a C-50-8 class caboose, in
Stockton, CA circa 1989. This
car does not have the rooftop
safety light, and likely has lights
on the ends below the roof
overhangs instead.
a C-50-8 class caboose, in
Stockton, CA circa 1989. This
car does not have the rooftop
safety light, and likely has lights
on the ends below the roof
overhangs instead.
entire website copyright Gregg Fuhriman
created with CoffeeCup Visual Site Designer
created with CoffeeCup Visual Site Designer
-- Layouts
-- Modules
-- Signalling
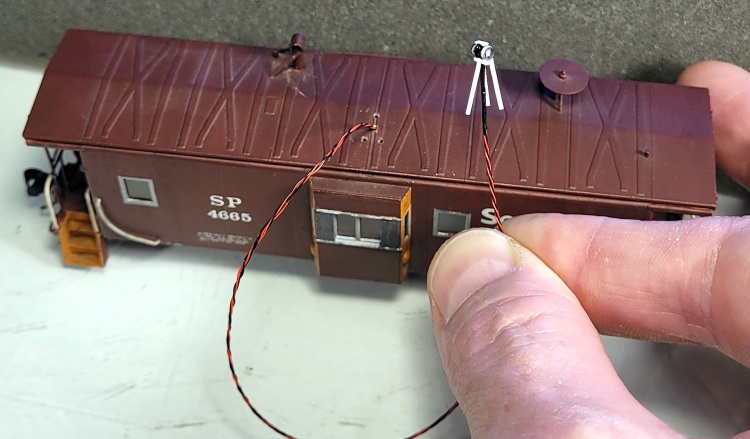
Below: to get a working rooftop safety light, I replaced the brass trucks with Tangent brand power-pickup caboose trucks, installed
an old NCE DA-SR decoder, and replaced the non-functional brass rooftop safety light with a custom-built unit.
Only the decoder's function outputs are used, and a 3-watt 120-ohm load resistor is connected between its motor outputs. This is
necessary to access the decoder's CVs - without the load resistor, the DCC system cannot detect the decoder for programming.
For the safety light unit, I used two pre-wired red 0603 LEDs mounted in 3D-printed caboose light housings from Gotham Rail & Marine.
These parts come with clear lenses, which I installed into the housings and colored with a red Sharpie pen. I then attached these
sub-assemblies to a small piece of styrene, facing outward. I enclosed the styrene and LEDs in thick black paint to block red light leaking
sideways from the unit, being careful not to get paint on the light housings or lenses. I then mounted this unit on a short length of styrene
C-channel, to which I glued three styrene legs. On top, I added a small bit of styrene to capture the look of prototype safety lights. I painted
the light assembly silver, and the legs boxcar red. After removing the non-functional brass unit and enlarging its three roof holes, I drilled a
central hole for the LED wires to pass through, then carefully threaded the wires and legs into their respective holes, fixed with ACC glue.
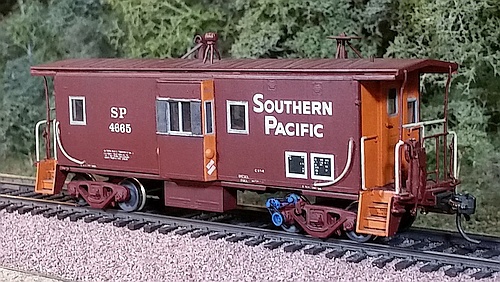
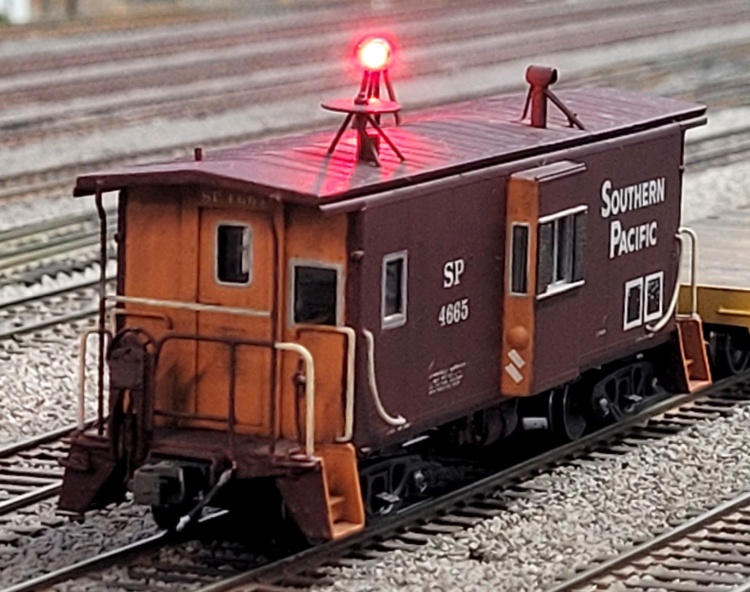
Right: A more recent pic of my
SP 4665 caboose with its DCC
controlled red safety lights. See
"Construction" section below.
SP 4665 caboose with its DCC
controlled red safety lights. See
"Construction" section below.